

Network Cabling Checklist for Small Business Renovations

Contact Us
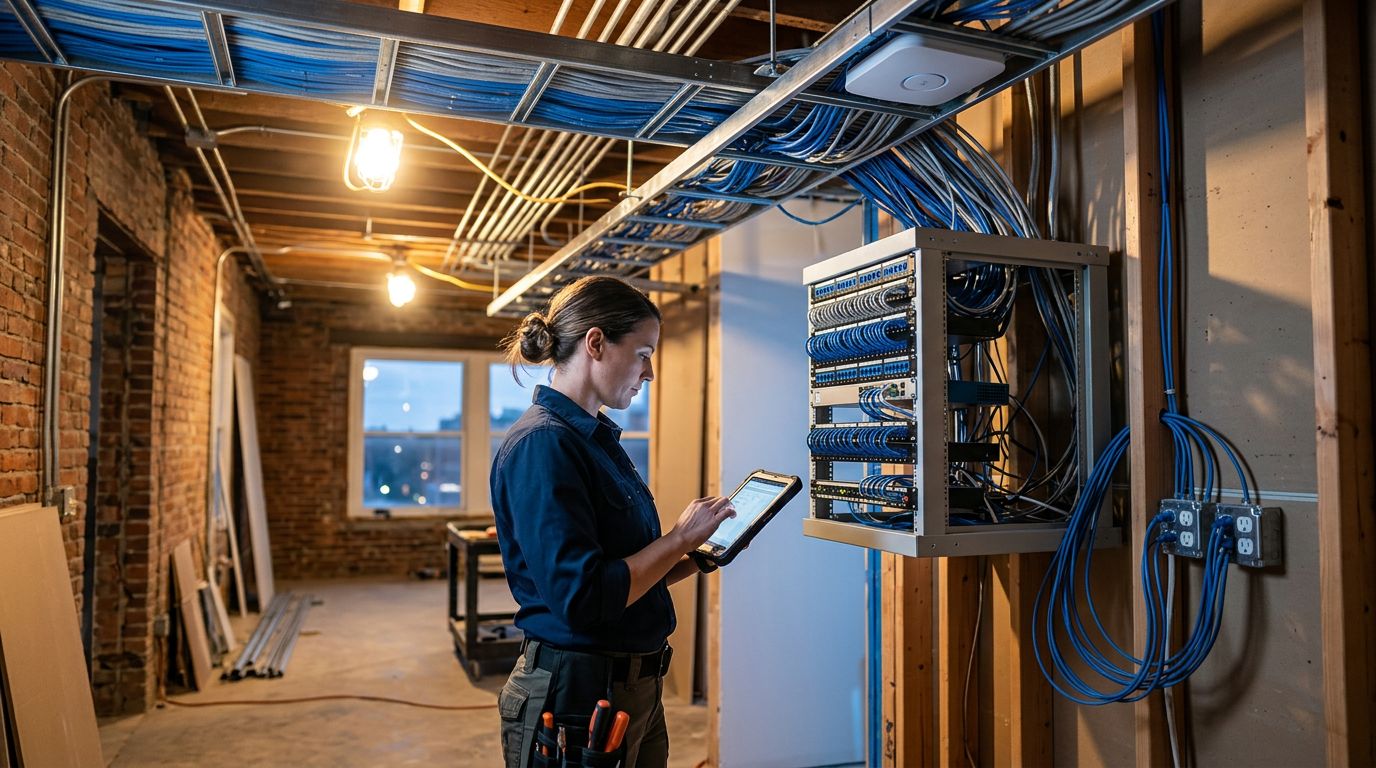
Renovations create a valuable chance to fix weak network connections before new walls, ceilings, and workstations hide the wiring. A network cabling checklist helps you plan outlet locations, cable routes, equipment space, testing, and future capacity before construction begins.
Poor planning can lead to exposed cables, missed outlets, business interruptions, and expensive reopenings. Before demolition starts, map the devices your business uses, coordinate with every contractor, and decide how the finished system will be tested and documented.
Why a network cabling checklist belongs in the renovation plan
Network cabling affects more than internet access. It supports point-of-sale systems, phones, printers, cameras, access control, wireless access points, computers, and other business equipment.
Because cabling often runs inside walls and above ceilings, repairs become harder after the renovation is complete. Early planning keeps the network work aligned with the electrical, HVAC, fire protection, and finish schedules.
Start with how the business works
Walk through the space with the people who use it every day. Mark where employees sit, where customers line up, where equipment will operate, and where staff may need wired connections.
Ask each department what must remain connected during the renovation. A restaurant may need reliable connections for payment terminals, kitchen displays, cameras, and music systems. A retail store may need data outlets near registers, inventory stations, access control panels, and wireless access points.
Create a simple floor plan that shows:
- Workstations and shared desks
- Printers, copiers, conference equipment, and phones
- Point-of-sale terminals and back-office equipment
- Security cameras, card readers, and access control devices
- Wireless access point locations
- The network rack or communications closet
This map gives the electrician, cabling installer, general contractor, and IT provider the same reference point.
Coordinate every trade before walls close
Network cabling shares limited space with electrical wiring, plumbing, HVAC ducts, sprinkler systems, lighting, and structural components. A route that looks open on an early drawing may disappear once another trade installs its equipment.
Hold a coordination meeting before rough-in work begins. Confirm who supplies cable, who installs sleeves and pathways, who handles firestopping, and who tests the finished links. Set deadlines for cable installation, ceiling closure, equipment delivery, and final inspection.

Define the cabling scope before you buy materials
A clear scope prevents last-minute substitutions and helps contractors price the work accurately. It should describe the number of outlets, cable category, pathway conditions, termination points, testing requirements, and documentation you expect.
If the renovation involves multiple systems, include them in one coordinated plan. Data, security, access control, fire alarms, and audiovisual equipment may need separate cables, pathways, power sources, or enclosures.
Count users, devices, and outlets
Count planned devices rather than relying on the current headcount. Businesses add desks, printers, cameras, and equipment faster than many renovation plans anticipate.
For workstations, decide whether each position needs one outlet or several. A single desk may eventually need a computer, phone, printer, and specialized equipment. Wireless access points also need dedicated cable runs, even when most employees connect over Wi-Fi.
Place outlets where furniture can move without forcing cables across walkways. Include accessible locations for shared equipment and spare outlets in rooms likely to change.
Your written scope should identify the number of drops, the room or area for each drop, the termination location, and any special device requirements. Avoid describing an outlet only as "near the front desk." Use a floor plan and a consistent room or area naming system.
Select cable and pathway types
Category 6 is common for business networks, while Category 6A is often selected when the system needs 10GBASE-T capability and greater performance margin. Cat 6A is commonly associated with 500 MHz bandwidth, but the installed system still needs compatible jacks, patch panels, patch cords, and testing.
Cable jacket ratings depend on the space. A ceiling void used for environmental air may require CMP-rated cable. A vertical pathway between floors may require CMR-rated cable. An area above a ceiling isn't automatically a plenum, so confirm the space classification before ordering materials.
Use cable that is listed and labeled by a recognized testing laboratory accepted by the local authority having jurisdiction. In Massachusetts, state cabling guidance points to UL 444 and NFPA 70 for communications cable requirements.
Build a renovation-ready cabling plan
A useful plan shows more than lines between outlets and a rack. It shows where cables enter rooms, how installers reach each route, how penetrations will be protected, and how technicians will access the system later.
For Greater Boston tenant improvements, review the site's commercial tenant fit-out electrical requirements while electrical and network plans are still being coordinated.
Keep data routes separate and accessible
Plan pathways that protect cable from damage and keep future service work practical. Cable tray, conduit, sleeves, J-hooks, and dedicated raceways may all have a place, depending on the building and the route.
Keep communications cabling separated from line-voltage wiring according to the applicable code and installation requirements. When the two systems must cross, coordinate the crossing rather than allowing cables to share an uncontrolled path.
Never plan to lay network cable on ceiling tiles or support it with sprinkler pipe, ductwork, or other building services. Provide proper support attached to the building structure. Leave access to junction points, sleeves, and equipment rooms so a future technician doesn't need to remove finished surfaces.
Document pathways on the plan. Note the route, serving area, penetration location, and destination rack. This record becomes useful when another contractor needs to work above the ceiling.
Size the rack for current and future equipment
Choose a communications closet or rack location with enough space for patch panels, switches, firewalls, battery backup equipment, cable managers, and service access. The rack shouldn't sit in a damp, dusty, overheated, or difficult-to-reach area.
Coordinate dedicated electrical power, grounding and bonding, ventilation, lighting, and equipment clearance with the electrical contractor. If the business uses cameras, access control, or other connected systems, include their head-end equipment in the rack plan.
Leave spare rack space, ports, pathway capacity, and cable length for reasonable growth. Replacing a patch panel is easier than opening finished walls to add a missing route.
A complete commercial data and security wiring plan also accounts for cameras, alarms, communication systems, and network equipment in the same renovation schedule.
Use this installation checklist during rough-in
The rough-in stage is where many hidden problems begin. Once walls close and ceilings are finished, installers lose the easiest access to correct damaged cable or missing pathways.
Give the contractor a current drawing, an approved cable specification, and a clear labeling method before installation starts.
Install cable without damaging it
Cable performance can suffer when installers pull too hard, crush the jacket, exceed the cable's bend limits, or leave sharp turns at boxes and patch panels. Keep cable away from heat sources and construction debris, and protect it where other trades may damage it.
Use the manufacturer's handling requirements for pulling tension and bend radius. Leave service slack in suitable locations without creating large coils that block airflow or crowd the rack. Terminate cables cleanly at patch panels and wall outlets instead of using hidden splices.
Each horizontal run should have a clear path between its outlet and the serving patch panel. Don't daisy-chain office outlets or hide unapproved connections inside walls.
Treat penetrations and firestopping as code items
Any cable penetration through a rated wall, floor, or ceiling needs a listed firestop system that matches the assembly. Generic caulk or expanding foam may not provide the required protection.
Massachusetts cabling guidance references TIA-569-B-1, Annex A, and BICSI TDMM Chapter 11 for firestopping systems. The project team should confirm the correct method with the local authority having jurisdiction.
Requirements for fire, electrical, building, and structured cabling work vary by location. Verify permits, cable ratings, support methods, penetrations, and inspection requirements with qualified local professionals, the electrical inspector, and the building or fire official when applicable.
A cable route above a ceiling cannot be classified by appearance alone. The space's air-handling function determines whether a plenum-rated solution may be required.
Test, label, and document every link
A network isn't finished when all the outlets are installed. It is finished when each link is identified, tested, recorded, and ready for the IT team to connect.
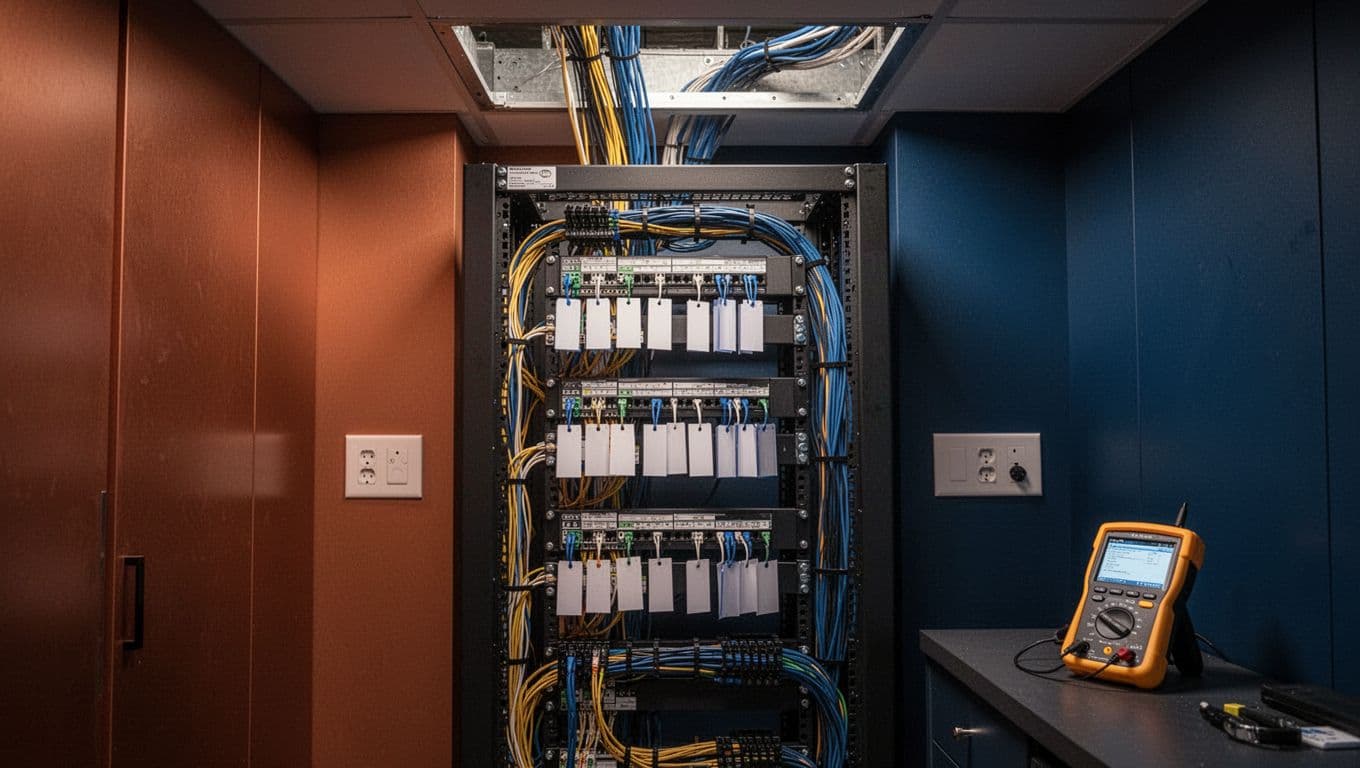
Test every link, not only the switch
A basic continuity check can show that conductors reach the other end, but it doesn't prove that the installed link meets the selected cabling standard. Require certification-style testing with equipment appropriate for the cable category and project requirements.
The test process should identify opens, shorts, intermittent faults, polarity problems, and DC loop resistance issues. Inspectors and installers should also review jacket markings, terminations, patch cords, grounding and bonding, and labels.
For Cat 6A installations, request a test report for every link. The report should identify the outlet, patch panel port, cable type, result, and test date. Keep those records with the renovation closeout documents.
A link can pass a simple continuity test and still fail under network conditions. Certification testing checks the installed channel more thoroughly.
Label both ends and preserve the records
Use the same identifier at the wall outlet and the patch panel. Labels should remain readable after installation and should match the floor plan, rack diagram, and test report.
Don't label only the visible outlet. A technician working in the communications closet needs to identify the correct port without tracing every cable by hand.
Your closeout package should include:
- An updated floor plan showing every outlet and route
- A patch panel schedule with port assignments
- Test results for each installed link
- Cable and hardware specifications
- Photos of pathways before walls and ceilings closed
- Notes about spare cables, sleeves, and unused ports
Store a digital copy where the office manager, owner, IT provider, and future contractors can find it. Good documentation saves time during moves, repairs, tenant changes, and equipment upgrades.
Reduce downtime during the cutover
Network work should follow the business schedule, not force the business to follow the construction schedule. Plan installation, testing, and cutover as separate activities.
Sequence the work around operating hours
Install new cable while the existing network remains active whenever the building allows it. Complete terminations and testing before moving users or devices to the new outlets.
Schedule brief outages for switch replacement, firewall changes, wireless access point moves, phone cutovers, or point-of-sale changes. Tell employees and service providers when the outage begins, what services may be unavailable, and when testing should finish.
Retail and restaurant operators should coordinate payment systems, kitchen displays, security cameras, alarms, and access control separately. A network change that appears minor can interrupt a critical business function.
Keep a tested fallback plan
Don't remove the old network until the new links pass testing and the IT provider confirms connectivity. Keep a record of the old port assignments, equipment settings, and service provider contacts.
Mark temporary connections clearly during the transition. If a new outlet fails during cutover, staff should know which approved connection to use while the installer corrects the problem.
After the move, test representative devices in each work area. Confirm wired access, wireless coverage, phones, printers, cameras, payment terminals, and other systems that depend on the network.
Conclusion
A small-business renovation needs more than a few extra data outlets. A reliable network cabling checklist connects business needs with cable selection, safe pathways, proper firestopping, future capacity, complete testing, and clear records.
Plan the routes before demolition, label both ends, test every link, and keep the existing network available until the replacement is ready. With the electrical contractor, cabling installer, general contractor, IT provider, and local inspectors working from the same plan, the finished network is easier to use, maintain, and expand.