
How to Plan Home Workshop Circuits Safely

Contact Us
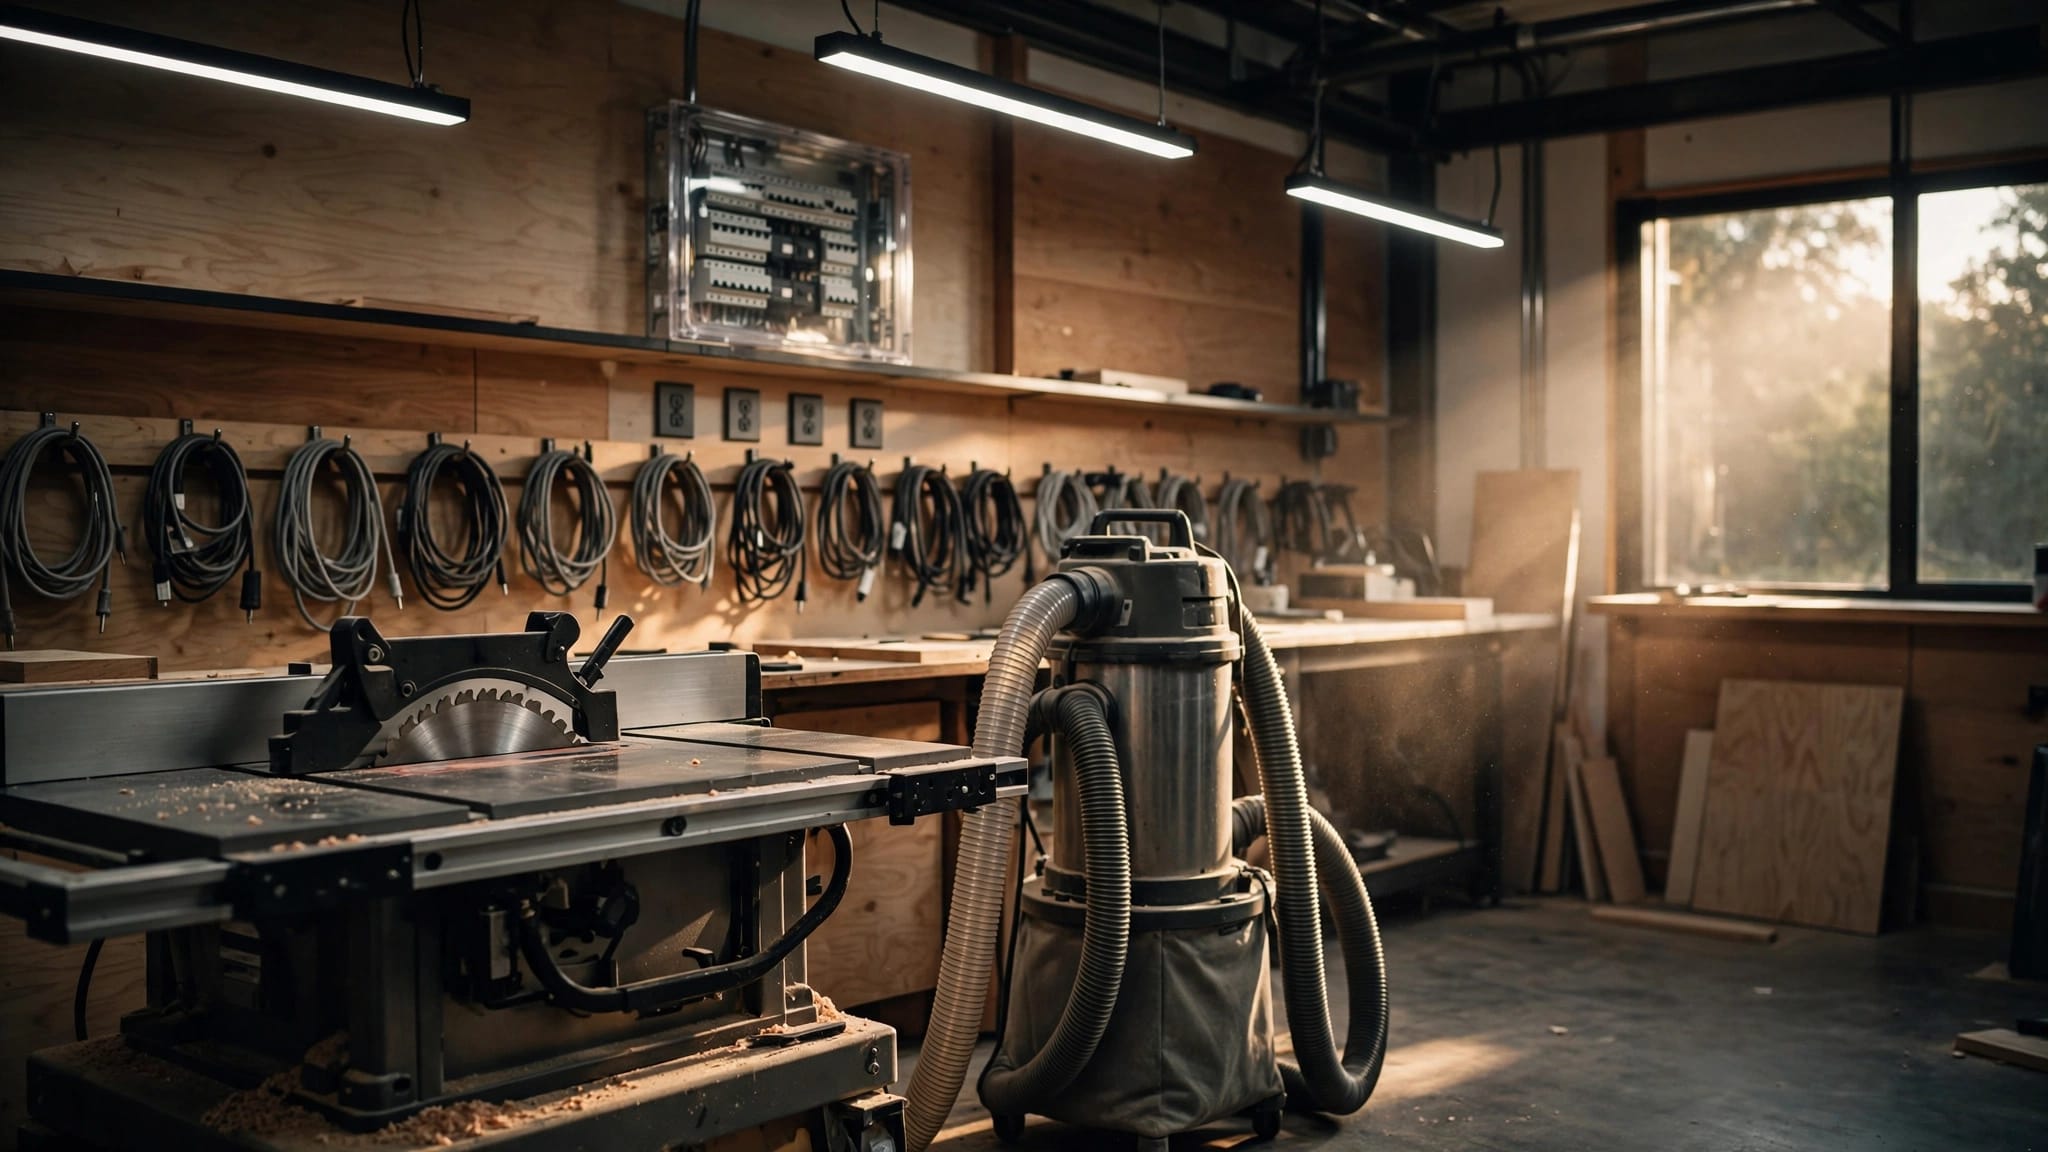
A table saw and dust collector often run together, but your existing garage circuit may not support both. Planning home workshop circuits starts with simultaneous loads , equipment instructions, and the condition of your home's electrical system.
A useful plan puts outlets within reach, keeps lighting dependable, and accounts for future equipment. Electrical codes vary by location, so general planning advice can't replace a code-compliant design. Start with an equipment inventory, then have a licensed electrician review capacity, circuit requirements, and installation details.
Assess Every Tool's Electrical Load

Read Nameplates and Installation Instructions
Record each tool's voltage, amperage, and manufacturer-specified electrical requirements. Photograph the nameplate and save the manual so your electrician can verify details.
Include stationary machines, portable tools, chargers, and equipment that stays connected. A compressor, welder, dust collector, or electric heater can influence the design much more than cordless-tool chargers.
Don't estimate electrical demand from horsepower alone. Motor efficiency, starting characteristics, and equipment instructions affect circuit selection. Also, some tools support different voltages only after an approved conversion. Changing the plug alone doesn't make a 120-volt tool suitable for 240 volts.
Identify Equipment That Runs Together
Next, describe your actual workflow. A table saw may operate alongside dust collection and overhead lighting. Meanwhile, a compressor or refrigerator could start automatically.
These combinations matter more than simply counting machines. Tell the electrician which equipment runs continuously, which cycles automatically, and which tools you'll never operate together.
Include heating and cooling, too. A portable heater can add substantial demand while you're using other equipment during winter.
If the workshop has older wiring, start with a residential electrical safety inspection. Aluminum branch-circuit wiring, damaged cable, and ungrounded receptacles can expand the project beyond adding outlets.
Plan Home Workshop Circuits Around Capacity
Distinguish Circuit Ratings From Usable Capacity
A 120-volt, 20-amp circuit has a nominal rating of 2,400 volt-amperes. However, that figure doesn't establish how much workshop equipment it can safely supply.
Allowable loading depends on equipment characteristics, operating duration, and applicable electrical requirements. Motors also draw additional current during startup, which simple running-load arithmetic won't capture.
Your electrician must match breakers, conductors, receptacles, and wiring methods to the installation. Conductor suitability depends on material, insulation, terminations, and installation conditions, not just the breaker rating.
Long wiring runs also deserve attention. Voltage drop can affect equipment performance, so distance belongs in the design discussion before you choose circuit locations.
Separate Equipment When the Load Requires It
Dedicated circuits are appropriate when equipment instructions require them or when shared loads would create problems. A large compressor, welder, dust collector, or heater deserves an individual review.
You don't need a dedicated circuit for every tool. Instead, distribute general-use receptacles across circuits based on likely combinations and operating demands.
Keeping a saw and its dust collector on appropriately designed separate circuits can help avoid simultaneous loading problems. Labeling those circuits also makes the intended arrangement easier to maintain.
Several receptacles on one circuit share the same available capacity. Adding outlet boxes doesn't create more electrical capacity.
Repeated breaker trips need diagnosis. Never install a larger breaker simply to stop trips without having an electrician evaluate the wiring, equipment, and circuit design.
Place Outlets Around Your Actual Workflow
Sketch the workshop before deciding where receptacles belong. Show workbenches, stationary machines, cabinets, vehicle parking, and garage-door travel.
Then mark each tool's cord connection and normal operating position. The goal is to reach power without stretching cords across walkways or leaving plugs trapped behind equipment.
At a workbench, coordinate outlet height with the benchtop, backsplash, shelves, and wall-mounted storage. Receptacles should remain accessible after you install cabinets or organize tools.
For stationary machines, consider access for maintenance and occasional repositioning. A receptacle directly behind a heavy machine may be inconvenient even when the location meets applicable requirements.
Island workstations need a deliberate solution. Ask your electrician whether an overhead supply, suitable floor arrangement, or another approved method fits the space. Don't assume a permanent extension cord across the floor is acceptable.
Also consider moisture, impact, and dust exposure when selecting locations and equipment. Outlets near vehicle paths or storage areas may need protection against physical damage.
Plan for cord reach, not an arbitrary outlet count. Your electrician should confirm code-required locations and accessibility separately from the additional receptacles that make the workshop practical.
Keep Lighting Available When a Tool Trips
A tripped tool circuit shouldn't leave you standing beside a machine in darkness. Plan lighting separately from equipment circuits, subject to local requirements.
Overhead lighting should illuminate walking routes and machine areas. Meanwhile, task lights can improve visibility at a bench without replacing general lighting.
Account for automatic equipment as well. A compressor starting shouldn't unexpectedly interrupt the garage-door opener or other functions sharing an unsuitable circuit.
Separating these loads improves troubleshooting because a problem affects fewer parts of the workshop. However, circuit separation must follow the adopted code, including any rules governing required garage receptacle circuits.
Discuss switching locations before installation. Controls should remain reachable when vehicles, doors, and stored materials occupy their normal positions.
Check Local Code and Protective Devices
Confirm the Adopted Code and Permit Requirements
The National Electrical Code, NFPA 70, is a model code. Your jurisdiction's adopted edition and amendments determine enforceable requirements.
Massachusetts applies 527 CMR 12.00, based on the 2026 NEC, to installations with permits granted after April 24, 2026. Earlier permits may fall under transition provisions that require confirmation with the local wiring inspector.
Review the Massachusetts electrical code updates, then verify requirements for your specific project. Workshops in New Hampshire, Vermont, or Maine may follow different editions or amendments.
A code-minimum garage outlet arrangement also doesn't necessarily provide enough outlets or capacity for an active workshop. Design for your equipment while meeting the applicable minimums.
Determine GFCI and AFCI Protection
Garage receptacles generally require ground-fault circuit-interrupter protection, commonly called GFCI protection. Depending on the adopted rules, covered receptacles can include 240-volt equipment outlets, not just ordinary 120-volt outlets.
Arc-fault circuit-interrupter protection, or AFCI protection, depends on the circuit and location. A basement workshop or circuit serving finished dwelling areas can raise different requirements than a garage-only circuit.
Your electrician should select the required listed protection and confirm compatibility with the equipment. Don't remove required protection because a machine trips it.
GFCI protection reduces shock risk, but it doesn't create an equipment-grounding conductor where none exists. A three-to-two-prong adapter also can't supply a missing grounding path.
Review Panel Capacity Before Adding Breakers

An empty breaker position doesn't prove that your electrical service can support additional loads. Likewise, a crowded panel doesn't automatically mean the entire service needs replacement.
A licensed electrician should review the service rating, calculated demand, panel condition, breaker compatibility, and existing wiring. Heating, cooling, cooking, water heating, and other household loads belong in that assessment.
A 100-amp service may support a modest workshop in one home but lack capacity in another. The calculation should guide the recommendation.
If equipment needs replacement, breaker panel installation and replacement should include reviewing existing loads and wiring. A panel replacement and a service upgrade are different projects, and your estimate should explain which you need.
Before the visit, photograph the panel exterior and visible labels without removing its cover. Also note recurring trips, flickering lights, corrosion, or damaged receptacles.
Leave panel work to a licensed electrician. Service conductors can remain energized even when the main breaker is off. Keep shelving and stored materials out of the panel's required working space, too.
Allow for Future Equipment and Detached Buildings
Plan Around Likely Additions
Tell the electrician about equipment you expect to add within the next few years. Electric heat, a heat pump, larger woodworking machinery, or Level 2 EV charging can change the plan.
EV charging deserves its own electrical assessment. An ordinary garage receptacle isn't automatically appropriate for continuous vehicle charging.
Where practical, provide room for additional circuits and an accessible wiring route before walls close. Spare conduit or planned access can reduce disruption later, but future conductor and circuit requirements still need professional design.
A workshop subpanel can simplify circuit organization. However, a subpanel adds breaker space, not service capacity . Its feeder and the home's service must support the calculated demand.
Account for the Detached Building's Supply
A detached workshop introduces additional questions about feeder routing, distance, underground utilities, and weather exposure.
The design also needs appropriate disconnecting means, grounding, and bonding. These systems protect people during electrical faults, so they require careful professional installation.
Discuss driveway crossings, landscaping, and trench access early. A route that looks convenient on a sketch may conflict with existing utilities or site conditions.
A feeder and subpanel may suit a workshop with several distinct loads, but they aren't automatic requirements for every building. The electrician should compare options against your equipment, future plans, and local rules.
Prepare a Clear Scope for Your Electrician
Bring an equipment list, manuals, workshop sketch, and photos to the initial consultation. Identify current needs separately from likely future additions so the estimate has a clear basis.
Ask for a written scope covering these details:
- Show the proposed circuits, receptacle locations, lighting layout, and dedicated equipment connections.
- Identify any panel, service, feeder, or existing-wiring corrections included in the work.
- Confirm responsibility for permits, inspections, labeling, and repairing surfaces disturbed during installation.
For local projects, review Massachusetts electrical permits and inspections before scheduling construction. Required inspection stages can affect when walls close and equipment becomes available.
Use a licensed electrician for panel work and any installation beyond your qualifications. Also check whether local law restricts who may perform the work. Keep the approved layout, equipment manuals, and final circuit directory for maintenance.
Build a Workshop That Matches Your Equipment
Well-planned home workshop circuits support the tools you use together and keep lighting dependable when problems occur. Outlet placement matters, but verified electrical capacity sets the limits.
Start with equipment requirements and a realistic layout, then let a licensed electrician confirm the code-compliant design. Including likely future loads now can prevent another round of wiring after the workshop is finished.