
How to Plan Electrical Circuits for a Home Recording Studio

Contact Us
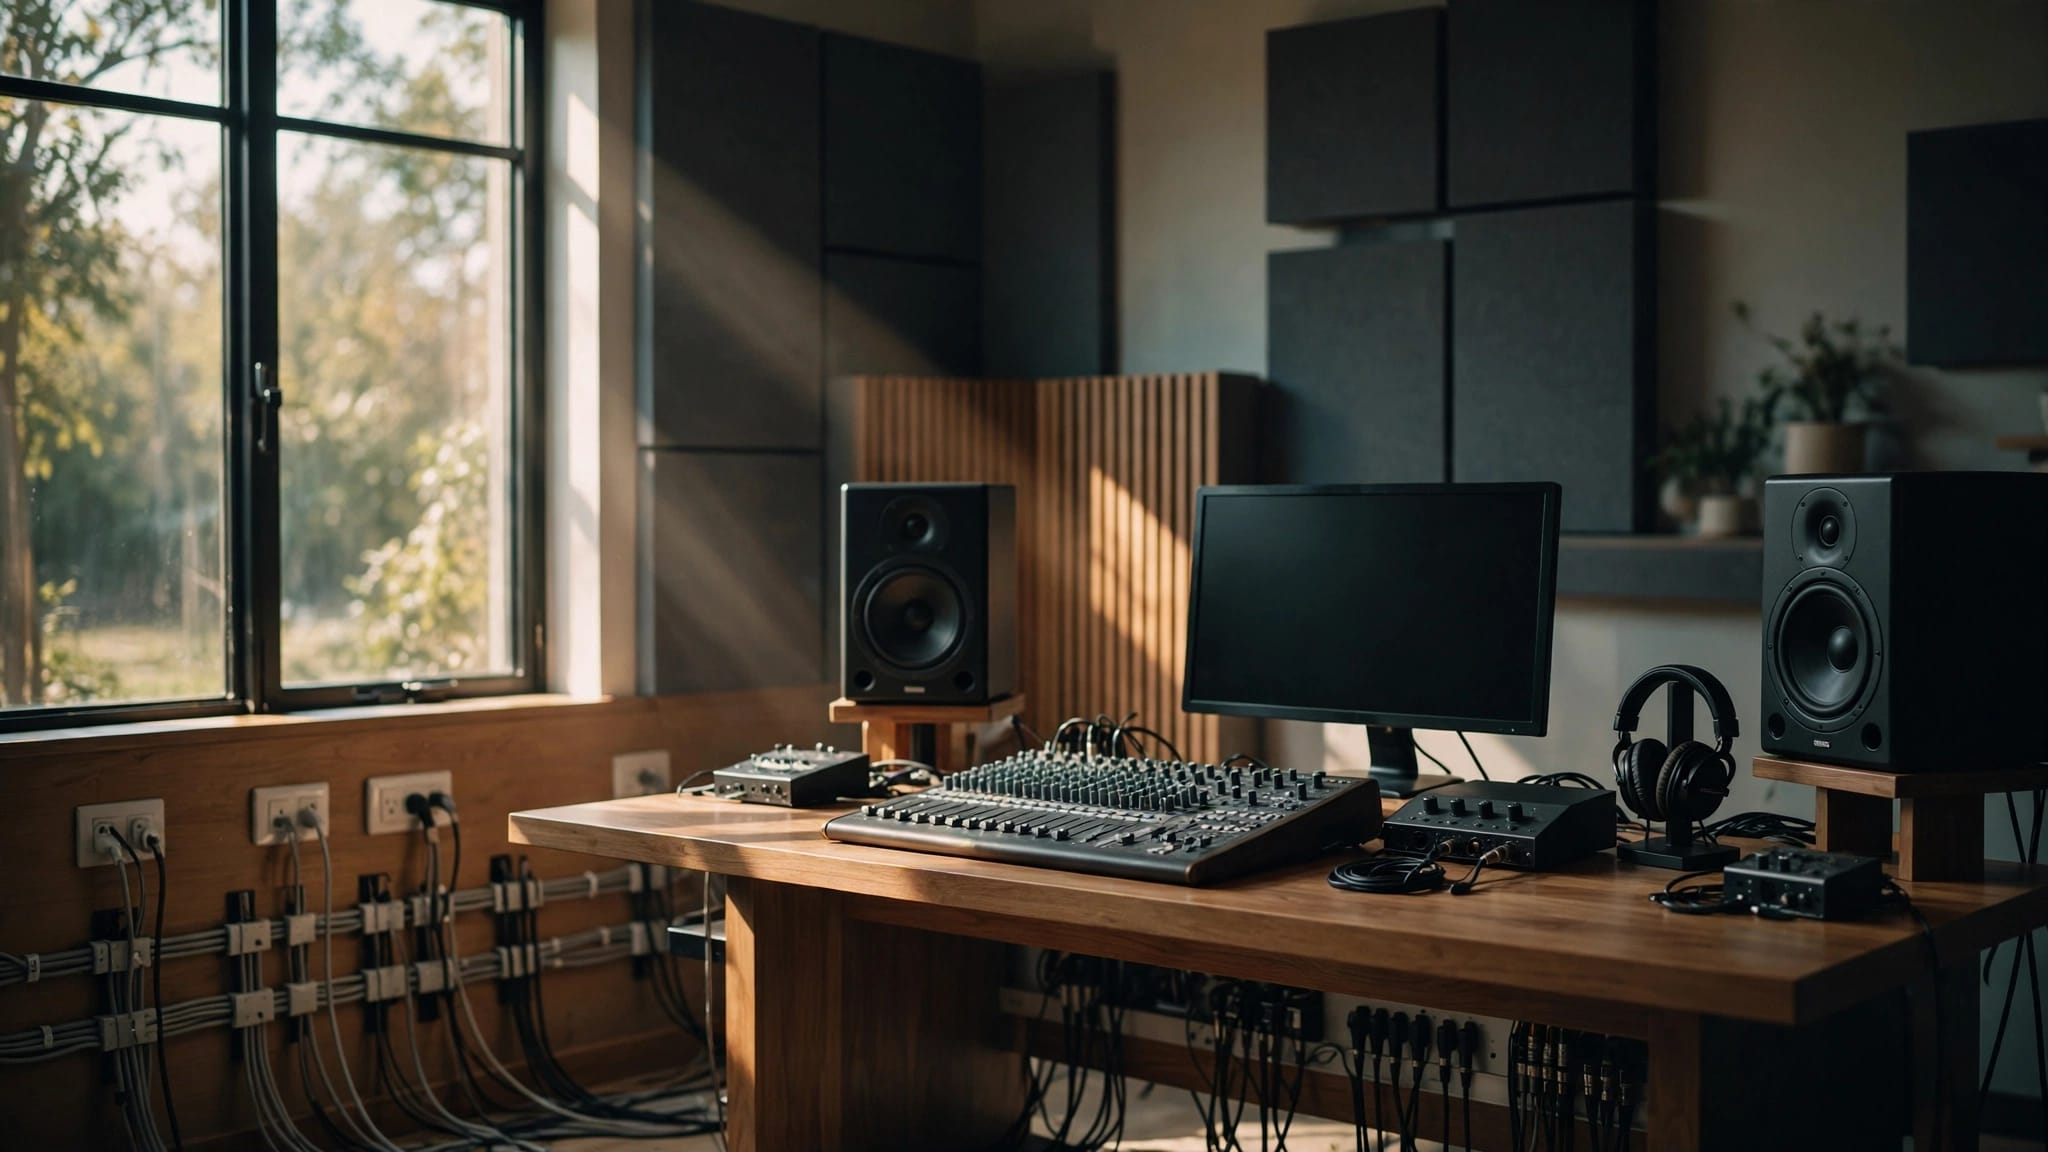
A home recording studio needs enough electrical capacity for its equipment, along with outlets placed where you'll use them. Start with an equipment list and a room layout, then have a licensed electrician assess the circuits and the home's existing service.
A good plan also accounts for lighting, heating, and cooling , which can add more demand than the audio equipment itself. Here's how to prepare for that conversation before the walls are finished.
Estimate Your Studio Equipment Loads
Your equipment list gives the electrician a starting point for the recording studio electrical plan. Include everything you expect to operate during a typical session, as well as equipment you plan to add later.
Record the Input Ratings
Look at the electrical input information on each device or its power supply. A computer, display, audio interface, powered monitors, keyboard, and rack equipment may all draw power at the same time.
Record the rating in watts or amps, along with the supply voltage. When a device has an external power adapter, include the adapter's information with your list.
For amplifiers and powered speakers, don't substitute the advertised audio output for the electrical input rating. They describe different things.
Account for How You Work
Note which devices run throughout a session and which you use only occasionally. Also tell your electrician about equipment with motors, built-in amplifiers, or other starting demands.
Nameplate ratings are useful planning information, but adding them together doesn't produce a complete circuit design. The electrician must account for the equipment instructions, operating time, and applicable electrical requirements.
Walk Through a Sample Load Estimate
A simple worksheet can show how to organize the information before your electrician designs the circuits. The figures below are sample input ratings for planning, not ratings for particular products.
| Equipment group | Sample input load |
|---|---|
| Computer and display | 250 watts |
| Powered monitors | 120 watts |
| Audio interface and rack equipment | 80 watts |
| Keyboard and other instruments | 100 watts |
| Network equipment and accessories | 50 watts |
| Total listed load | 600 watts |
In this example, the listed studio equipment adds up to 600 watts . That total gives the electrician a starting point for the equipment that may operate together.
It doesn't include room lighting, heating, cooling, or other household loads. If you plan to add another amplifier or computer, include its input rating rather than assuming the existing arrangement has room for it.
Your electrician can use the worksheet to decide how to distribute the loads. The final plan also depends on the equipment's instructions and the condition and capacity of the home's electrical system.
Divide Equipment Among Suitable Circuits
A dedicated circuit supplies a particular load or group of loads rather than sharing capacity with unrelated parts of the home. It can be useful when the equipment instructions require it or when a load needs its own supply.
Group Equipment by Use
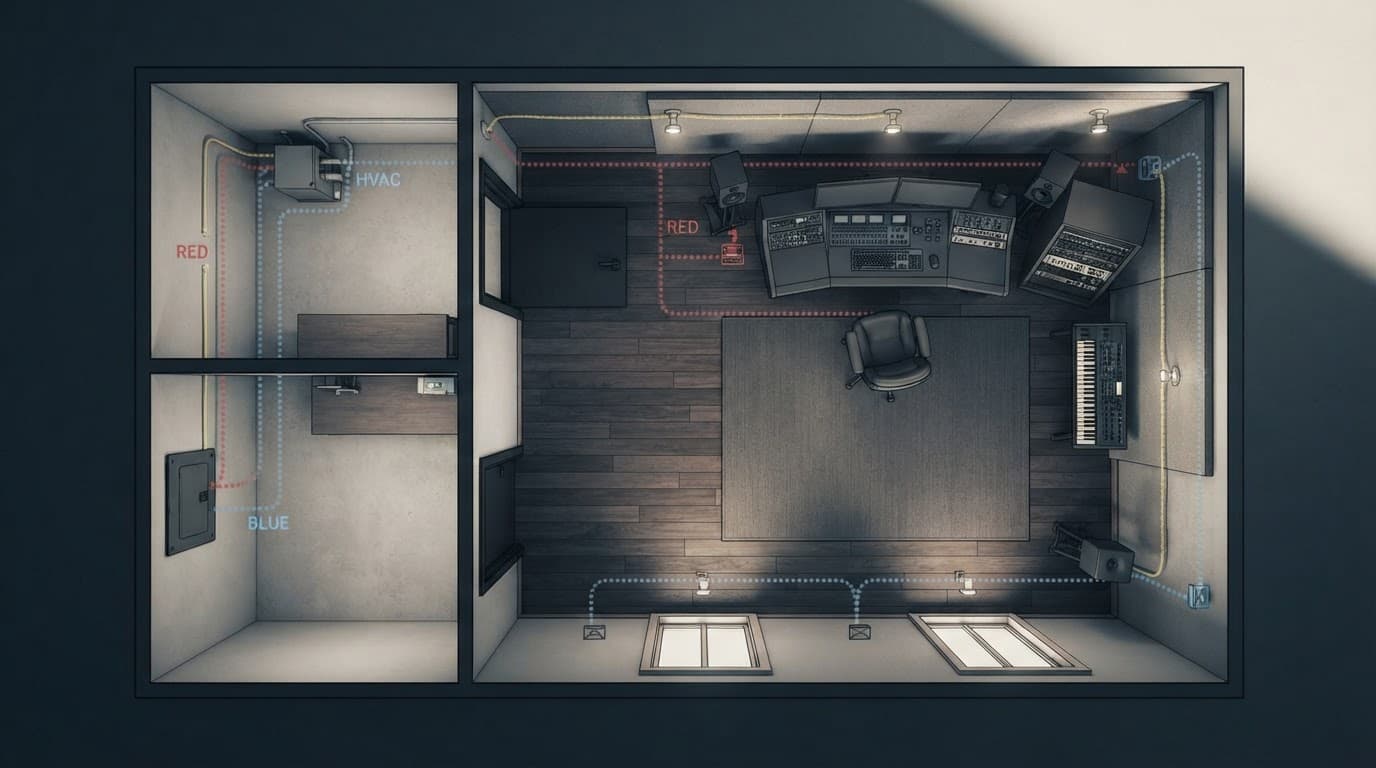
Show your electrician which devices belong at the mixing position and which will sit in a separate rack or performance area. The layout helps connect each outlet to a practical use, rather than leaving you to run cords across the room.
Also mention equipment you expect to leave on for long sessions. The electrician can consider those operating patterns when designing the circuits.
Keep Other Loads in the Plan
A studio may share an existing circuit with outlets or equipment elsewhere in the house. That matters even if the studio's own equipment list looks modest.
Point out portable heaters, air conditioners, dehumidifiers, and other substantial loads you use near the room. Your electrician can identify what's already connected and decide whether new or separate circuits are appropriate.
Place Outlets Around the Room Layout
Draw the room with the desk, monitor speakers, equipment rack, instruments, and likely seating positions in place. Then mark where each group needs power.
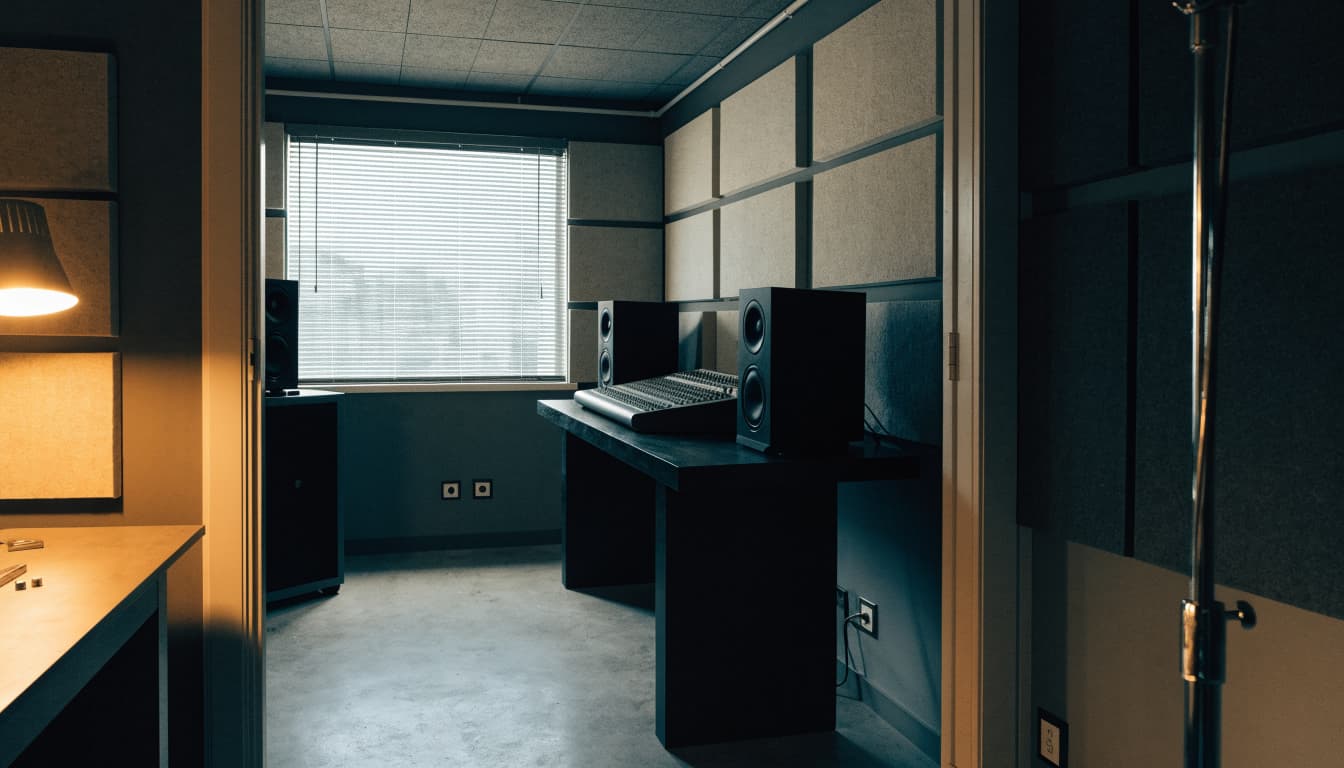
Outlets behind a large desk may become difficult to reach once equipment is installed. Conversely, an outlet located too far away can leave cords crossing a walkway. Consider both access and cord paths before settling on locations.
Leave room for plug-in power adapters, which can occupy more space than a standard plug. An accessible receptacle near a rack also makes it easier to disconnect equipment for service.
If the studio is part of a renovation, outlet placement should be coordinated with insulation, finished surfaces, and furniture. Our guide to planning electrical circuits for a home renovation covers related residential layout considerations.
Plan Circuit Routes Before Walls Close
A room sketch should show more than receptacle locations. Mark the path between the studio and the electrical panel, along with doorways, built-in furniture, and areas where walls or ceilings will be finished.
Share the sketch with your electrician before construction begins. The actual route will depend on access, the home's construction, and the installation requirements for the wiring. A straight line on a drawing doesn't always translate to a practical route through a finished house.
Also identify where audio, network, and other low-voltage cables need to travel. Coordinate those paths with the electrical work and the room's acoustic treatment before finishes go in.
If you're planning future equipment, tell the electrician while the route is accessible. Leaving room for a future path can be easier during a renovation than reopening finished surfaces later.
Include Lighting, Heating, and Cooling
Studio equipment is only part of the room's electrical demand. Comfortable working conditions depend on lighting and temperature control, and those loads belong in the early plan.
Choose Lighting and Controls
Decide where you need general room lighting and where a task light will help at the desk or equipment rack. Locate switches so you can enter and leave the room without reaching behind furniture.
If you want dimmable LED fixtures, choose controls that work with the selected lights. Our guide to choosing an LED-compatible dimmer switch explains what to consider.
Bring HVAC Equipment Into the Calculation
A ductless heat pump, electric heater, air conditioner, or ventilation system can add substantial demand. The equipment nameplate helps determine its electrical requirements, including the circuit and disconnect arrangement.
Coordinate the electrical plan with whoever is installing the heating or cooling equipment. If that equipment changes during the project, its replacement may have different electrical needs and require a review of the design.
Coordinate With the Home's Existing Service
A studio circuit plan has to fit the house that supplies it. Open spaces in an electrical panel are useful, but they don't prove the service has enough capacity for new loads.
Start With a Whole-Home Load Calculation
A licensed electrician reviews the existing service and major household equipment alongside the proposed studio loads. That review can include heating and cooling, cooking equipment, water heating, laundry, and an EV charger.
Future plans matter too. If you're considering a heat pump or another major electrical addition, include it in the conversation. The calculation can help establish whether the current system has room for both the studio and those planned loads.
Distinguish Panel Space From Service Capacity
A subpanel can provide a convenient place for additional circuits closer to the studio. It doesn't create extra capacity in the home's electrical service.
Similarly, replacing a panel and upgrading the service are different projects. The result may be a new circuit within the existing system, panel work, or a larger upgrade if the calculation and equipment condition call for it. Our guide to residential electrical panel and service upgrades explains some of the considerations in older homes.
A service upgrade can also involve the meter equipment, service conductors, and utility coordination. Addressing those possibilities early gives you a clearer scope before studio construction begins.
Address Grounding and Bonding Safely
Grounding and bonding are part of the home's electrical safety system. They deserve attention during a studio project, particularly when the work includes older wiring, a panel change, or a subpanel.
Ask your electrician to assess the existing system as part of the circuit plan. If a subpanel is proposed, its grounding and neutral arrangement belongs in the installation design.
Never remove or bypass a plug's safety ground to address an audio problem. Avoid adapters or equipment modifications that defeat that connection. If you suspect an outlet or piece of equipment has a grounding problem, stop using it and have a qualified professional investigate.
Troubleshoot Hum Before Changing the Wiring
If you hear a hum or buzz, document when it occurs. Note which equipment is on, whether the sound appears in a recording or only through the monitors, and whether it changes when a particular device is connected.
Disconnect and reconnect audio devices one at a time, following their instructions. Make one change at a time and listen for the result. That gives an audio technician or electrician useful information about where the issue may begin.
Keep the investigation separate from electrical repair. Don't open outlets or panels, alter grounding connections, or modify power cords. If the source remains unclear, have a qualified professional assess the equipment and electrical installation.
Protect Equipment Against Surges and Outages
A surge protector and an uninterruptible power supply, or UPS, address different problems. Surge protection helps protect connected equipment from electrical surges. A UPS supplies temporary battery power so you can save work or shut down a computer during an outage.
A UPS has limits on both the load it can support and how long it can run. Plan it around the equipment you need during an interruption, rather than assuming it will power the entire studio.
You can also discuss whole-home electrical surge protection with your electrician. A panel-mounted device and a listed plug-in surge protector can be considered as part of the overall protection plan. A surge protector won't keep equipment running during a power outage.
Put the Studio Plan Together
A useful studio electrical plan starts with the equipment you expect to use and the places you'll use it. The room layout and equipment ratings give your electrician the information needed to design the circuits.
The home's calculated capacity determines how that plan fits the existing system. At Sirois Electric, we help Greater Boston homeowners plan electrical work around the room and the rest of the home.
Bring your equipment list and room sketch to your electrician before finishes go in.