Mini-Split Wiring Basics Before a Heat Pump Upgrade

Contact Us
A heat pump upgrade can stall on one simple issue, the wiring doesn't fit the new equipment. Mini-split systems look compact, but they still need the right circuit, disconnect, and control wiring to work safely.
If the electrical side is off, even a high-efficiency system can become a headache. Before you talk to an installer, it helps to know the basics so you can ask better questions and spot obvious problems.
Why mini-split wiring matters before the upgrade
Mini-splits and other heat pumps are popular because they use less energy than many older systems. They still draw steady power, though, and the electrical plan has to match the model, the house, and the local code.
A system that works in one home may need a different breaker size, wire run, or disconnect arrangement in another. That is why "Can it fit?" is not the same question as "Is it wired correctly?"
The wiring also affects service later. A clear layout, proper labeling, and a reachable shutoff make maintenance simpler. When those details are rushed, even a basic repair can take longer than it should.
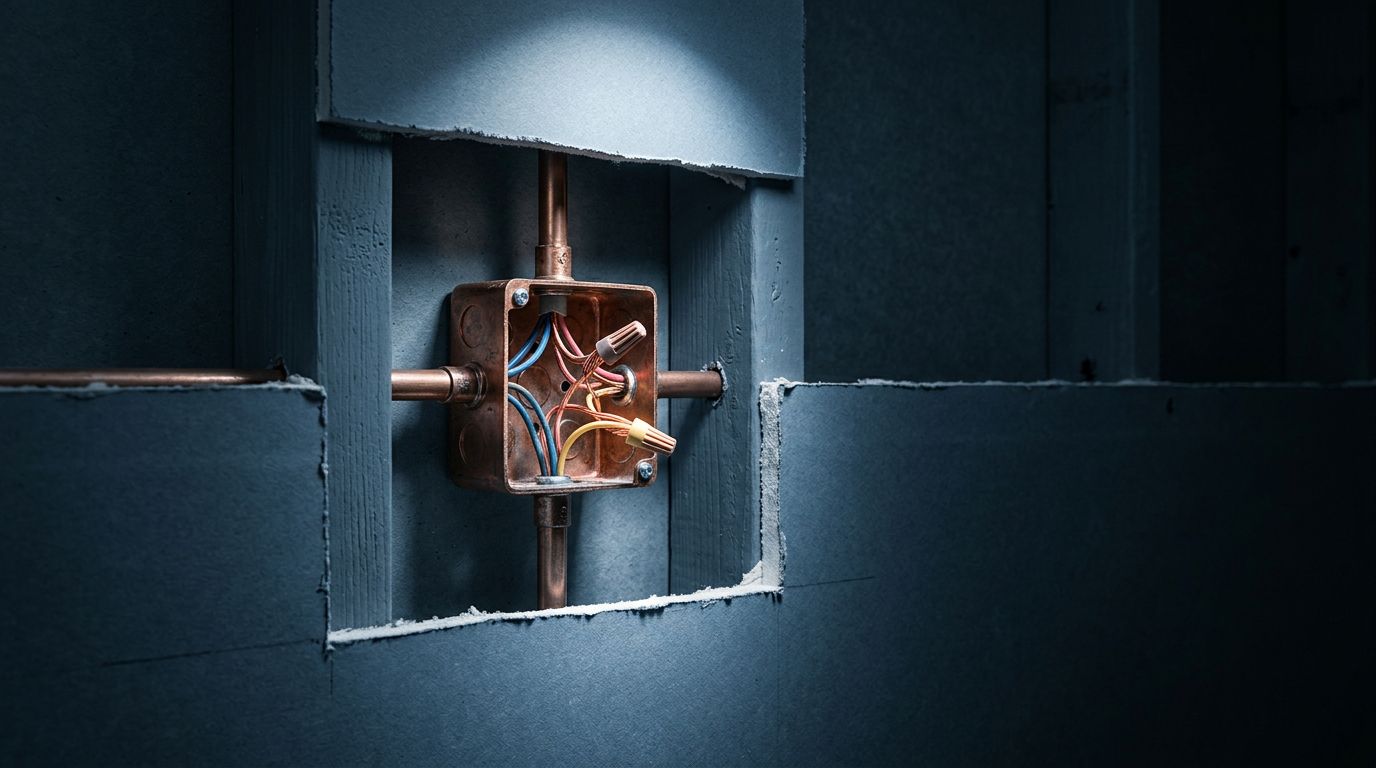
What mini-split wiring usually includes
A homeowner does not need to memorize every conductor or terminal, but the main pieces help the conversation with an installer.
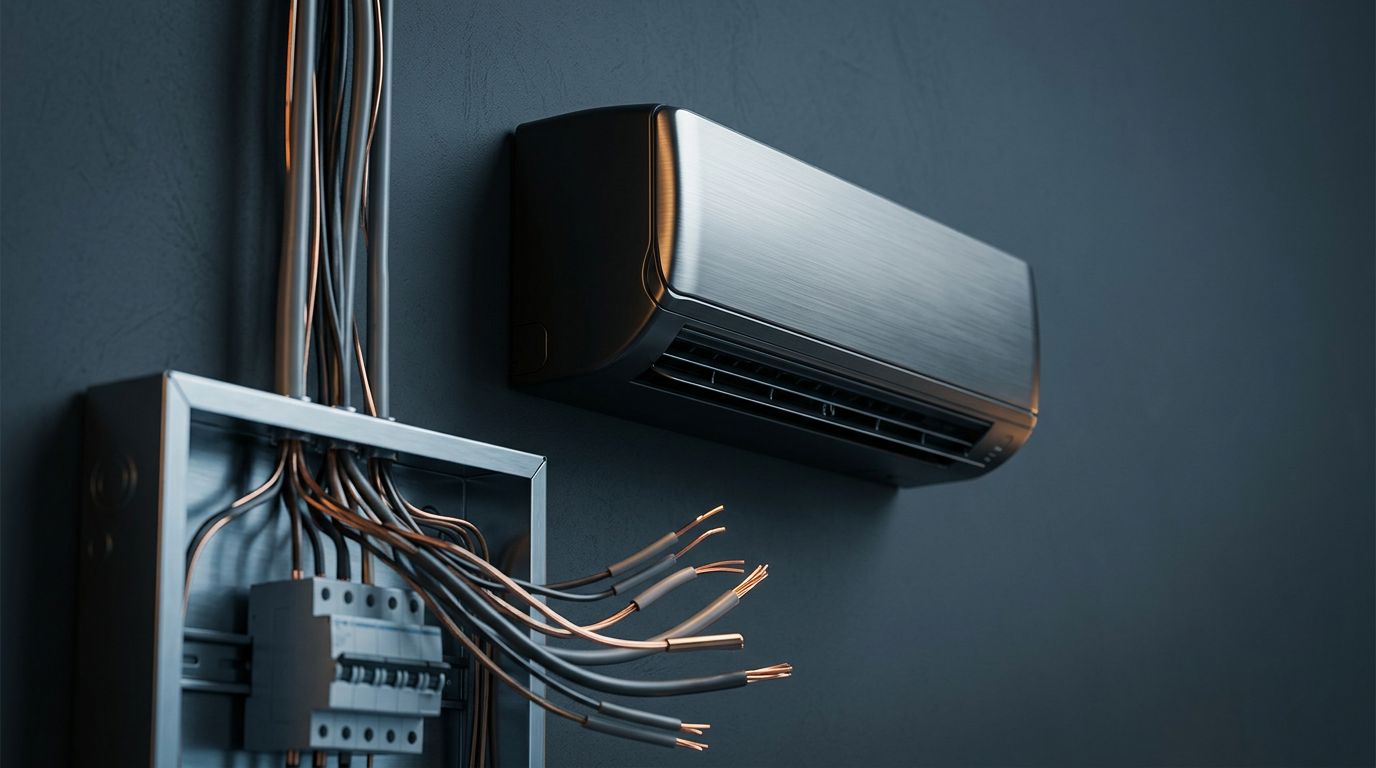
Dedicated power circuit
Most mini-split heat pumps use a dedicated circuit. That means the unit gets its own breaker instead of sharing power with lights, outlets, or random appliance loads. A dedicated circuit gives the system a clear shutoff point and reduces nuisance trips.
Control wiring between indoor and outdoor units
Many systems also need communication wiring between the indoor head and the outdoor unit. In some models, that is low-voltage control cable. In others, the setup can look different because the manufacturer has its own layout.
That wiring is one reason mini-split jobs are more exact than they look from the outside. The outdoor unit, indoor head, and thermostat-style controls have to communicate in the right way, or the system will not operate as intended.
Outdoor disconnect
Most installations also need an outdoor disconnect near the condenser. That switch lets a technician shut off power safely during service. Location matters because the disconnect has to be accessible and placed according to code.
In other words, mini-split wiring is not one cable and a breaker. It is a small electrical system with several parts that all need to line up.
Check the electrical panel capacity and breaker space
Before the first wire is run, start at the panel. Look for open breaker space, clear labeling, and signs that the panel has room for another load. If the home already has an EV charger, a finished basement, or several large appliances, the available capacity may be tighter than it looks.
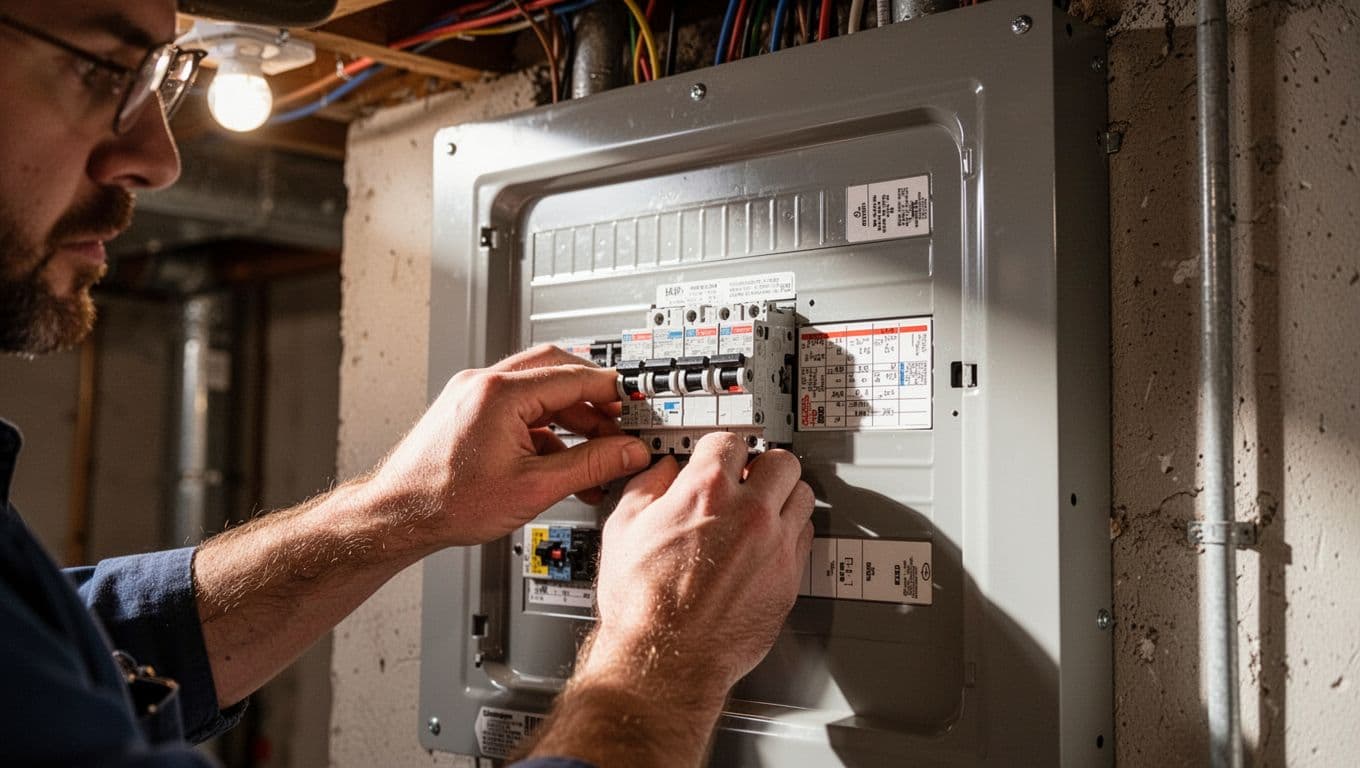
A load calculation gives a better answer than guesswork, and how load calculations determine heat pump wiring needs can show whether the panel has room for the new system.
If the panel is full, the electrician may recommend a larger panel, a subpanel, or a service upgrade. That is common in older homes, especially when the heat pump is only one part of a bigger electrical plan.
Look closely at the panel itself, too. Rust, heat marks, double-tapped breakers, or loose labeling can point to work that should be corrected before the HVAC project moves ahead.
Match voltage and wire details to the manual
Every manufacturer has its own requirements. Some mini-split systems use 208/230 volts, some layouts differ by zone count, and wire size depends on the load, the run length, and the equipment specs.
The equipment manual is the final word on breaker size, conductor type, and disconnect details. Local electrical code can add another layer.
That is why the model number matters. If you know the exact indoor and outdoor unit numbers, the electrician can check the manual and compare it with the site conditions before installation day.
If someone suggests reusing an old circuit, ask for a real verification. A circuit that once served a furnace, baseboard heater, or window AC might not match the new heat pump. The wire could be undersized, the breaker could be wrong, or the run could be too long for the equipment.
The safest move is simple. Bring the model information to the electrician and have them confirm the requirements before the install is scheduled.
Look at the existing wiring path and disconnect location
Even when the panel has room, the route from the panel to the unit matters. Long wire runs, cramped attics, masonry walls, and exterior walls can all change the plan.
Existing wiring should get a close look if the installer hopes to reuse anything. Brittle insulation, corrosion, loose junction boxes, and amateur splices are warning signs. Missing grounding or a disconnect that sits too far from the outdoor unit are also problems.
The outdoor disconnect needs to be accessible. It should not end up behind landscaping, squeezed into a bad corner, or placed where service techs have to fight for access later. A clean location makes the whole system easier to work on.
The same idea applies to the wiring path itself. A neat, direct route is easier to inspect and easier to service. It also tends to look better, which matters more than people expect once the work is finished.
Questions to ask your installer before work starts
A good installer should be able to explain the electrical side without jargon. Ask direct questions before the equipment order is final, because small details can change the scope of the job.
- Is the current panel large enough for this heat pump?
- Is there space for a dedicated breaker?
- What voltage does this equipment need?
- Where will the outdoor disconnect go?
- Can any existing wiring be reused safely, or should it be replaced?
- Do you expect any code issues with the current setup?
If the answer to any of those questions is unclear, the project needs a closer look. That is normal, and it is far better to sort it out early than to discover a problem on installation day.
When the wiring work is part of the HVAC project, professional HVAC and mini-split electrical wiring can keep the circuit, disconnect, and equipment requirements aligned. That kind of coordination helps the electrician and the HVAC installer stay on the same page.
When the upgrade points to broader electrical work
Sometimes the mini-split is only part of the story. An older panel, outdated grounding, or limited service capacity can turn a simple wiring job into a larger upgrade.
That is common in older homes, especially when another big load is already planned. A heat pump, EV charger, hot water equipment, or kitchen upgrade can all compete for room in the same electrical system.
If that is where your home is headed, think through the full picture at once. It is easier to plan for a panel change or service upgrade before the equipment arrives than to revise the project halfway through.
You do not need to sort that out alone. A licensed electrician can review the panel, the wiring route, and the expected load, then tell you whether the existing setup is ready or needs attention first.
Conclusion
Mini-split wiring looks simple from a distance, but the details matter. Panel capacity, breaker space, voltage compatibility, disconnect location, and the condition of the existing wiring all have to line up before a heat pump upgrade moves ahead.
If you check those pieces early, the installation is easier to plan and easier to service later. That first conversation with an installer goes a lot better when you know what to ask.
A heat pump works best when the electrical side is ready before the equipment arrives.