

Bathroom Exhaust Fan Wiring for a Safer Remodel

Contact Us
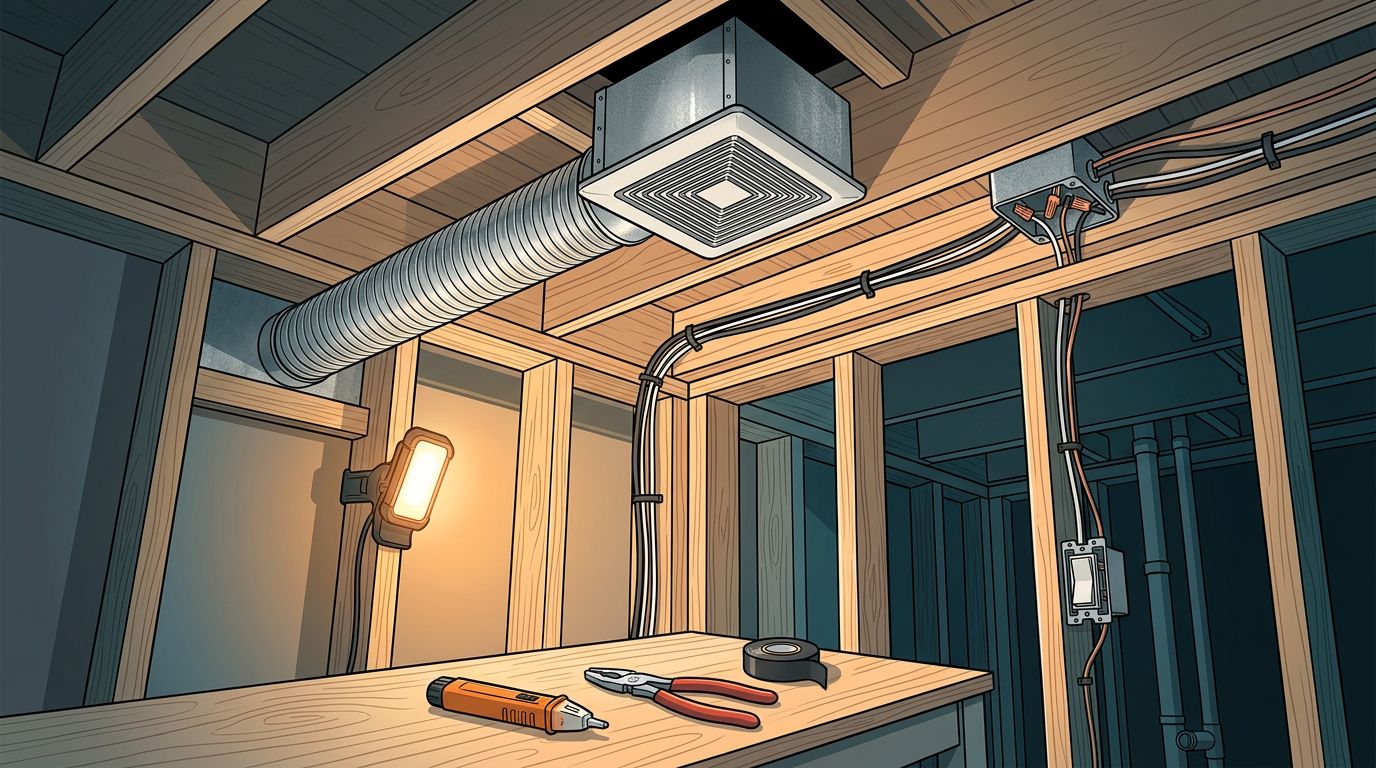
A bathroom remodel can hide a serious electrical problem behind a new ceiling and fresh tile. Bathroom exhaust fan wiring must account for moisture, switching, grounding, ventilation, and the condition of the existing circuit.
The safest plan starts before drywall goes up. Confirm the fan location, switch layout, circuit path, and local permit requirements while the framing and ceiling remain accessible. Then follow the fan manufacturer's wiring diagram exactly.
Key Takeaways
- Shut off the circuit breaker and verify that power is off before touching any wiring.
- Plan the fan, switches, duct route, junction boxes, and circuit capacity before closing walls.
- Follow the manufacturer's diagram because fan, light, humidity-sensor, and heater models wire differently.
- Do not connect a new fan to damaged, ungrounded, aluminum, or knob-and-tube wiring without an electrical evaluation.
- Hire a licensed electrician for panel work, uncertain wiring, new circuits, or code questions.
Plan the Electrical Work Before the Bathroom Remodel
The best time to plan bathroom exhaust fan wiring is before the contractor installs drywall. Open framing gives an electrician room to inspect the existing cable, route new conductors, secure the wiring, and install boxes without cutting finished surfaces.
Start by choosing the fan model. A basic exhaust fan may need one switched hot, a neutral, and a grounding connection. A fan with an integrated light may need separate switched conductors so the fan and light operate independently. Humidity-sensing models, timers, and heaters can require additional connections or specific controls.
The switch location also affects the wiring plan. A single switch can control a fan and light together. Separate switches provide more control, while a timer switch can keep the fan running after you leave the room. Some electronic controls require a neutral in the switch box, so the electrician should know your preferred control before installing cable.
Before work begins, confirm these details:
- The fan housing fits between the ceiling joists.
- The duct can discharge outdoors through an approved termination.
- The circuit has enough capacity for the fan, light, and heater.
- The switch box has room for the number of devices and conductors.
- The wiring path avoids plumbing, sharp metal edges, and future screw locations.
- Required permits and inspections are part of the project schedule.
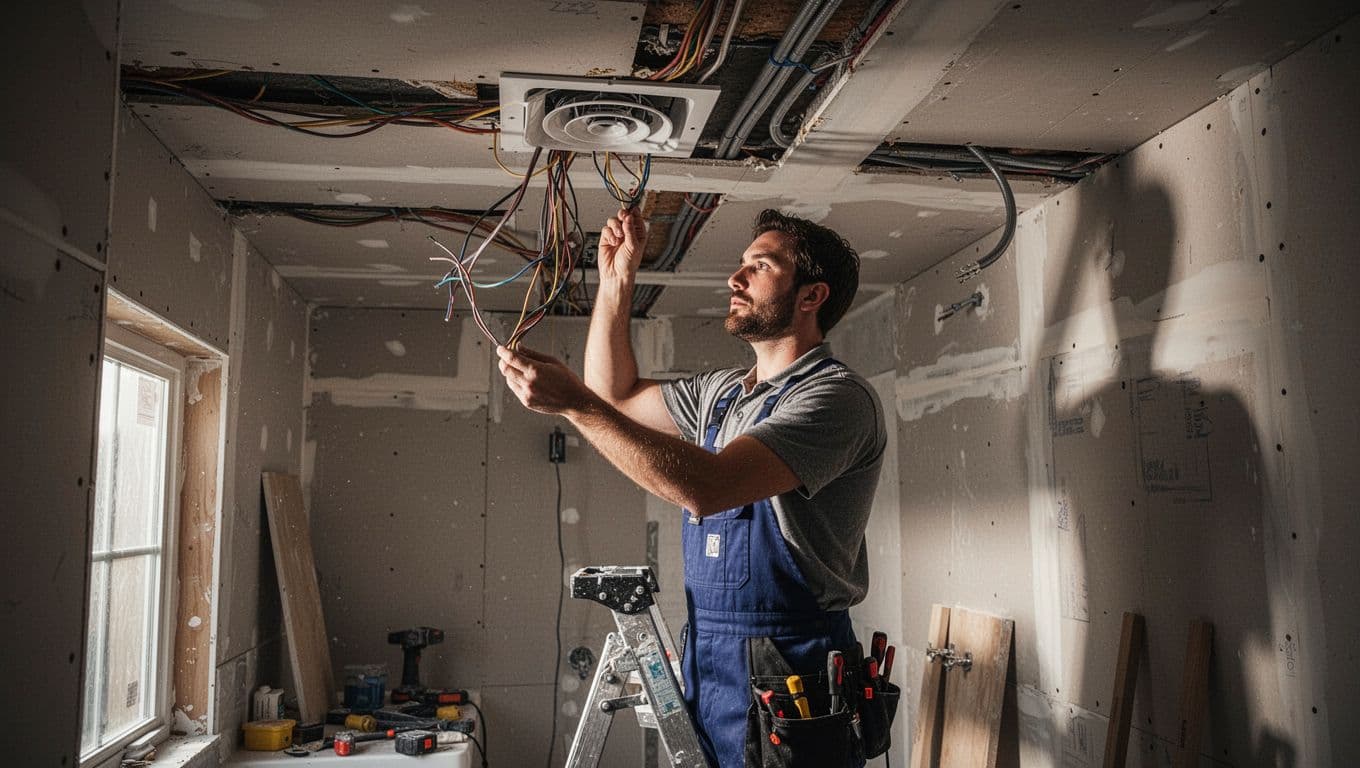
A remodel can also reveal outdated wiring that wasn't visible during normal use. Older Greater Boston homes may contain multiple generations of electrical work, so evaluating legacy wiring during a bathroom remodel can prevent a new fan from being connected to an unsafe system.
Understand the Common Bathroom Fan Wiring Arrangements
The wiring method depends on the equipment and the way you want to control it. Never rely on wire color alone, and never copy a diagram from a different fan model.
For a basic fan controlled by one switch, the cable usually provides an ungrounded supply conductor, a neutral conductor, and an equipment grounding conductor. The switch interrupts the hot conductor. The neutral travels to the fan, while the grounding conductor connects to the fan's grounding point and the metal box or other required components.
A fan and light combination often uses separate switched conductors. One switch sends power to the fan, and another sends power to the light. The neutral remains part of the circuit as shown in the product instructions. If a three-function unit includes a heater, the heater may need its own switched conductor and a circuit with sufficient ampacity.
| Equipment | Common control arrangement | Main planning concern |
|---|---|---|
| Exhaust fan only | One switch or timer | Confirm circuit protection and neutral connection |
| Fan with light | Two switches or one combination control | Provide separate switched conductors if desired |
| Fan, light, and heater | Three controls or approved multi-function control | Check load, conductor count, and manufacturer requirements |
| Humidity-sensing fan | Wall switch, sensor, or both | Follow the required neutral and control wiring |
| Fan with a motion sensor | Sensor-controlled switch | Verify compatibility with the fan motor |
The table shows why a product-specific diagram matters. Two fans with similar appearances may use different control wires, switch requirements, or grounding methods.
Some remodels reuse an existing switch leg. That approach may not provide the neutral needed for a modern electronic timer or humidity control. If the existing cable cannot support the new layout, replacing the cable while the wall is open is usually cleaner than forcing an unsuitable control into the old wiring.
Follow a Safe Wiring Process
Electrical work in a bathroom requires more care because water and grounded surfaces can increase shock risk. Before removing a cover, opening a switch box, or touching a conductor, turn off the correct circuit breaker. Then verify the absence of voltage with a properly functioning tester at the switch box and fan wiring.
A breaker handle marked "bathroom" isn't proof that every nearby conductor is dead. Remodels often leave multiple circuits in one box, and a second circuit may feed lighting, receptacles, or another room. Test every conductor you may touch.
A safe installation process includes these steps:
- Identify the circuit and equipment. Record the fan model, voltage, power requirements, control type, and existing circuit information.
- Shut off and verify power. Turn off the breaker, test the circuit, and check for other energized conductors in the work area.
- Inspect the existing wiring. Look for damaged insulation, loose connections, missing grounds, heat damage, and incompatible conductors.
- Install approved boxes and cable. Use boxes listed for the installation and route cable according to local code.
- Make connections from the manufacturer's diagram. Match each supply and control conductor to the terminal or lead identified by the manufacturer.
- Secure and protect the wiring. Use cable clamps, staples, bushings, and supports where required. Keep conductors away from screws and sharp edges.
- Close the fan junction box. All connections must remain inside an approved enclosure with its cover installed.
- Test the controls and fan. Restore power only after the work is complete, then check each switch, timer, light, sensor, and heater function.
Avoid working in a damp area or standing on a wet floor. Keep tools dry, and don't work alone if the circuit's condition is uncertain.
A noncontact tester can help locate voltage, but it shouldn't be your only verification method. Test with a meter or contact tester rated for the system and use a known live source to confirm the tester works.
Check GFCI, AFCI, Grounding, and Local Code Requirements
Bathroom electrical requirements depend on the installation, the equipment, the home's age, and the authority having jurisdiction. The fan manufacturer's instructions and local code determine whether the circuit needs GFCI or AFCI protection, how the fan may be located, and what wiring method is permitted.
A fan is different from a bathroom receptacle. Do not assume that requirements for a nearby outlet automatically apply to the fan, or that an existing circuit remains acceptable after you add a light or heater. The local inspector may require updates when a remodel changes the wiring or opens areas of the building.
Grounding deserves close attention. The equipment grounding conductor must connect correctly to the fan and any metal boxes or raceways that require bonding. A two-wire cable with no grounding path may not support a modern replacement without additional work.
Circuit capacity also matters. A small exhaust fan may place a modest load on a branch circuit, but an integrated heater can draw much more. An electrician should calculate the total load and inspect the breaker, cable size, connections, and panel space before adding equipment.
Permits and inspections vary by town and project scope. Ask the building department or your electrical contractor before work starts. If the project requires a new breaker, service change, or panel modification, use a licensed electrician. Panel work creates hazards beyond the fan installation and should not be treated as a do-it-yourself wiring task.
Avoid These Remodel Wiring Mistakes
Many fan problems begin with a rushed rough-in. The wiring may work on the first day, then cause nuisance trips, a dead timer, or a difficult repair after the ceiling closes.
One common mistake is choosing the fan after the wiring is installed. A basic fan, a heater combination, and a humidity-sensing model may need different conductors. Select the equipment early and keep the installation manual available for the electrician and inspector.
Another mistake is using the wrong switch. Some LED lights and electronic controls require a neutral. Others have minimum load requirements or aren't rated for a motor and heater combination. A standard dimmer should not control a fan motor unless the device is listed for that purpose.
Avoid splicing conductors outside an enclosure. Don't bury a junction box behind drywall, tile, insulation, or a fixed cabinet. Junction boxes must remain accessible for inspection and future service.
Older wiring creates another risk. Aluminum branch-circuit wiring needs compatible devices and approved connection methods. Knob-and-tube wiring may lack an equipment grounding conductor and often requires a broader evaluation before you add new equipment. Understanding BX wiring in older homes can also help homeowners recognize why metal-clad cable should be inspected rather than assumed safe.
Watch for these additional errors:
- Connecting the fan to a circuit without checking its existing load.
- Leaving the grounding conductor disconnected.
- Reversing line and load connections on a GFCI device.
- Using wire nuts that don't match the conductor type and size.
- Installing cable where a future drywall screw can strike it.
- Removing a cable clamp from the fan's junction box.
- Combining fan, light, and heater wires without following the diagram.
- Installing a fan that vents into the attic instead of outdoors.
- Closing the ceiling before testing every control.
The electrical system and the ventilation system must work together. A correctly wired fan still performs poorly if the duct is crushed, too long for the equipment, or terminated in the wrong location.
Know When to Call a Licensed Electrician
Some homeowners can replace a like-for-like fan under local rules, but a remodel often changes the risk and scope. Call a licensed electrician when the wiring is old or unidentified, the circuit lacks grounding, the panel needs work, or the new fan includes a heater or complex control.
Professional help is also appropriate when several cables enter the switch box, the breaker trips, wires show heat damage, or you find aluminum conductors. Stop work if you encounter unexpected voltage, brittle insulation, water intrusion, or a cable that doesn't match the home's wiring system.
Before hiring someone, provide the fan model, a photo of the existing switch box, the age of the home, and your preferred control layout. Ask whether the estimate includes permits, inspection corrections, circuit changes, patching access openings, and final testing.
A licensed electrician can also coordinate with the remodeler. The electrician handles the rough-in before insulation and drywall, returns for device installation, and verifies operation after the ceiling is finished. That sequence reduces rework and keeps hidden connections accessible during inspection.
Conclusion
Good bathroom exhaust fan wiring begins with planning, not with a wire connector. Choose the fan and controls early, inspect the existing circuit, provide the right conductors, and keep every connection inside an accessible enclosure.
Always shut off and verify power before work. Follow the manufacturer's diagram, meet local code and permit requirements, and bring in a licensed electrician when the wiring, circuit, or panel is uncertain. A dry, quiet bathroom starts with electrical work that is safe behind the finished walls.